How to Get Your Basement Ready For Finishing
Before you start picking paint colors, there are a few critical steps to make sure your basement is ready for a renovation.

Rachel Gonzalez
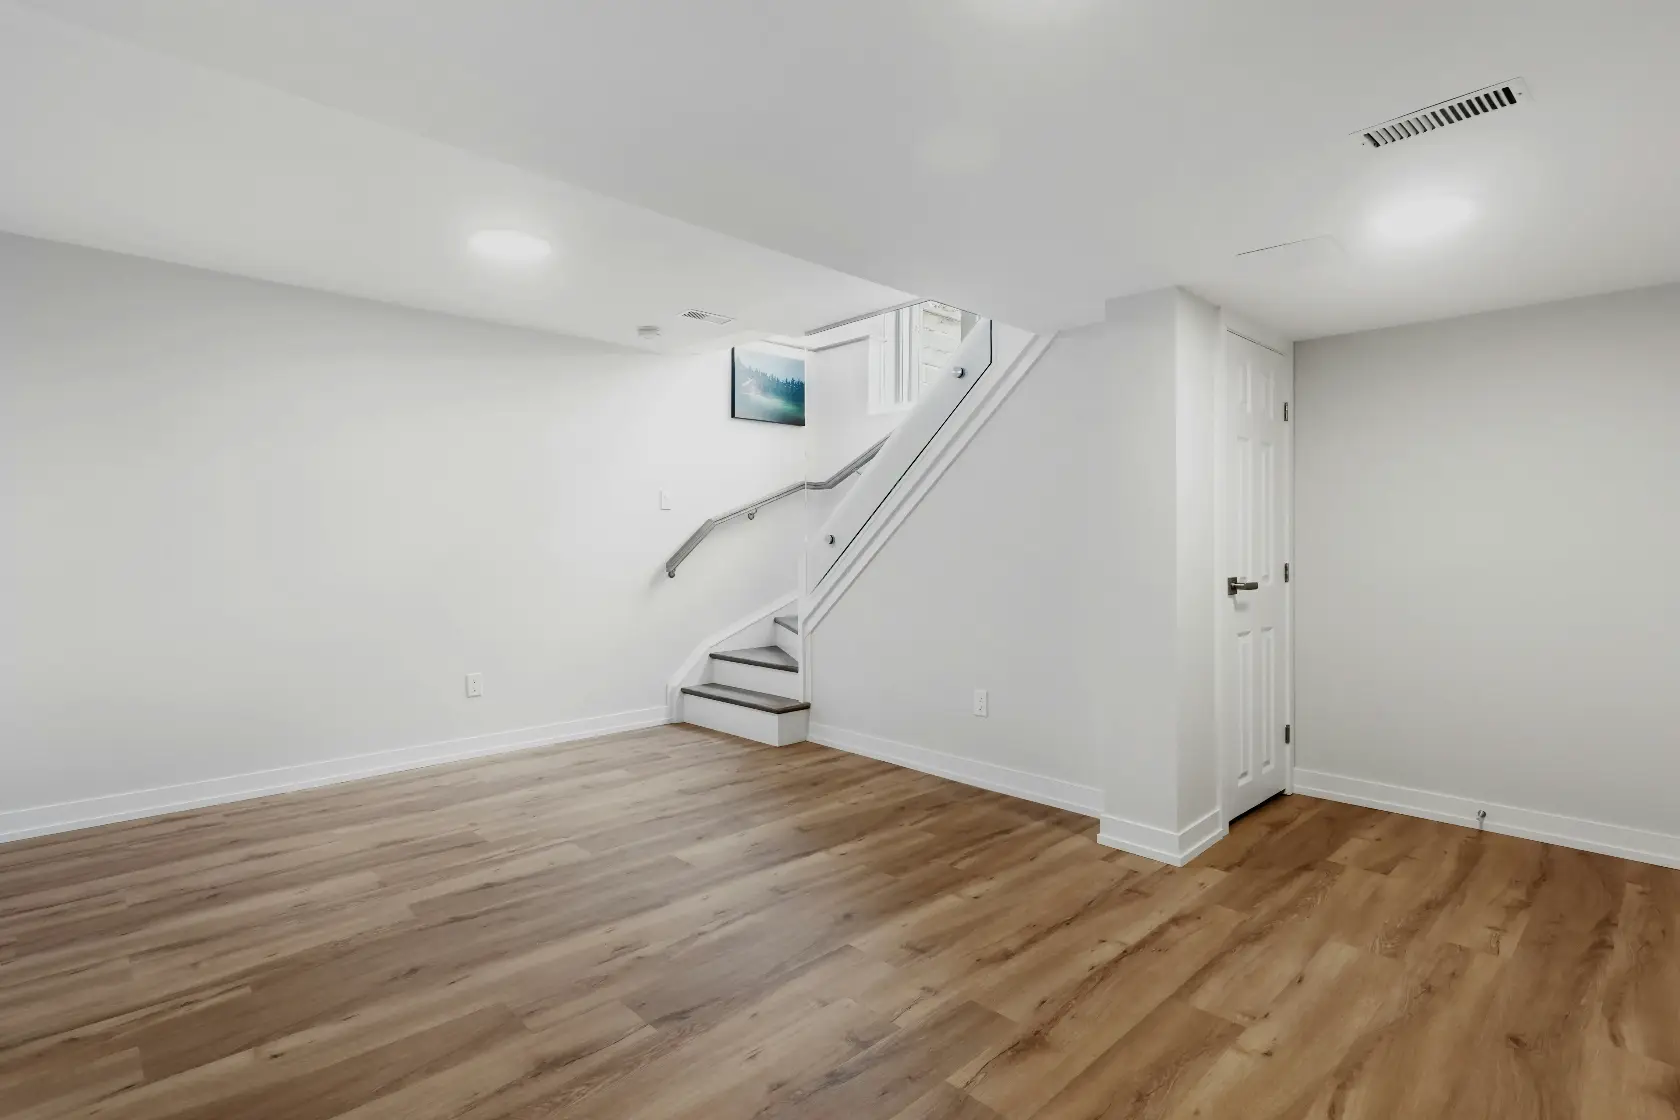
A finished basement can add hundreds of square feet of usable living space to your home without touching the footprint. But the difference between a basement finish that lasts and one that fails in five years almost always comes down to what happened before the framing started. Here is what to address before any construction begins.
Start with moisture
This is not optional and it is not something you can defer. Moisture is the number one reason finished basements fail. If your basement has any history of water intrusion, even occasional dampness after heavy rain, that needs to be fully resolved before a single stud goes up.
Water behind finished walls leads to mold. Mold is expensive to remediate, damaging to the structure, and harmful to the people living in the home. Finishing over a moisture problem does not contain it. It hides it until it is worse.
Common moisture solutions include interior drainage systems along the perimeter, sump pump installation or replacement, vapor barriers on the walls and floor, and improved grading or downspout extensions on the exterior. The right solution depends on where the water is coming from and how much of it there is.
If you are unsure whether your basement has a moisture problem, look for efflorescence on the walls, white chalky deposits left behind when water moves through concrete, staining at the base of the walls, or any musty odor. Any of these is a signal worth investigating before you move forward.
Check your ceiling height
Most building codes require a minimum finished ceiling height of seven feet. Measure from the finished floor to the lowest obstruction, which is usually a beam, duct, or pipe, not the concrete ceiling above.
If you are close to the minimum, you have a few options. A drop ceiling gives you flexibility to route mechanicals above the tiles and access them later without demolition. Drywall gives you a cleaner look but requires all mechanical runs to be planned carefully before installation. If you are significantly below seven feet, the conversation becomes more complex and may involve excavating to lower the slab, which is a significant undertaking.
Know your ceiling height before you get too far into the planning process. It affects every other decision.
Address egress requirements
Any room you intend to use as a bedroom requires a code-compliant egress window. This is not negotiable. An egress window provides an emergency exit in the event of a fire and allows a fire to be visible from the exterior. Without one, the room cannot legally be called a bedroom and will not pass inspection.
Egress windows in basements typically require cutting through the foundation wall and excavating a window well outside. This is specialized work but it is not as disruptive as it sounds and it is far easier to address before framing than after.
If you are planning a home office, a gym, a media room, or any other non-sleeping space, egress requirements are less stringent. Know what you are building before you start.
Plan around your mechanicals
Your furnace, water heater, electrical panel, and any other mechanical equipment in the basement need to remain accessible at all times. Code requires clear access to electrical panels, water shut-offs, and HVAC equipment. You cannot finish around them and call it done.
A good basement layout plans for the mechanicals from the beginning rather than treating them as an afterthought. Common approaches include a dedicated mechanical room with a finished door, soffits that wrap ductwork and pipes neatly, and strategic wall placement that keeps everything accessible without making it visually dominant.
Walk your basement before any design decisions are made and identify where every mechanical element is located. This is the foundation of a layout that actually works.
Think about insulation before framing starts
Basement walls are below grade and in direct contact with the earth, which means they need a different insulation approach than above-grade walls. Rigid foam insulation applied directly to the concrete walls is the most effective method for basements because it provides both thermal resistance and a secondary moisture barrier.
Fiberglass batt insulation in stud walls without a rigid foam layer is a common mistake. Without the foam, moisture can still move through the concrete and into the insulation, which creates exactly the conditions you are trying to avoid.
Get the insulation strategy right before framing starts. It is much easier to address at this stage than after the walls are up.
Radon testing
Radon is a naturally occurring radioactive gas that enters homes through the foundation. It is odorless, colorless, and the second leading cause of lung cancer in the United States. Basements tend to have higher radon concentrations than above-grade floors because of their proximity to the soil.
Before finishing your basement, test for radon. Kits are inexpensive and widely available, or a certified inspector can test for you. If levels are above the EPA action level of four picocuries per liter, a radon mitigation system should be installed before construction begins. Mitigation is a relatively simple and affordable intervention when done before a basement is finished. It becomes considerably more complicated after.
Now the fun part starts
Once moisture is controlled, ceiling height is confirmed, egress is planned, mechanicals are accounted for, insulation strategy is set, and radon is tested, the actual design and construction of your finished basement can begin with confidence.
Skipping any of these steps does not make the project faster. It makes the problems that follow more expensive. Do the prep work right and the finished basement you end up with will perform the way it should for decades.